

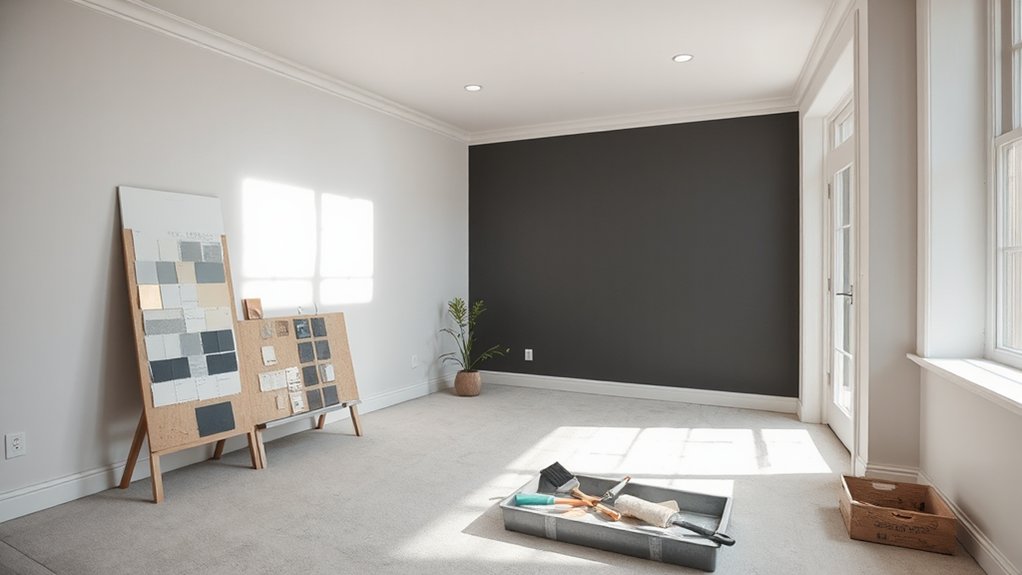

A smart interior repaint starts with a clear plan: define your goals, choose a color scheme that boosts mood and flow, and pick finishes that suit each room. Assess walls for prep needs, patch flaws, and apply primer where needed to block stains and improve adhesion. Save time with quality tools, batching tasks, and room-by-room scheduling. Budget for contingencies and know when to hire pros or DIY. If you keep going, you’ll uncover proven steps for lasting, pristine results.
Key Takeaways
- Plan a cohesive color scheme using psychology, lighting, and test patches in context before painting.
- Prepare surfaces thoroughly: clean, repair defects, and test durability for optimal adhesion.
- Choose primers strategically (stain- or moisture-resistant) based on surface and bleed risks to ensure lasting coverage.
- Use quality tools and a room-by-room prep/paint workflow to maximize efficiency and clean lines.
- Follow manufacturer drying/curing guidance, protect nonpainted areas, and finish with precise edges and clean-up.
What Interior Painting Delivers for Your Home
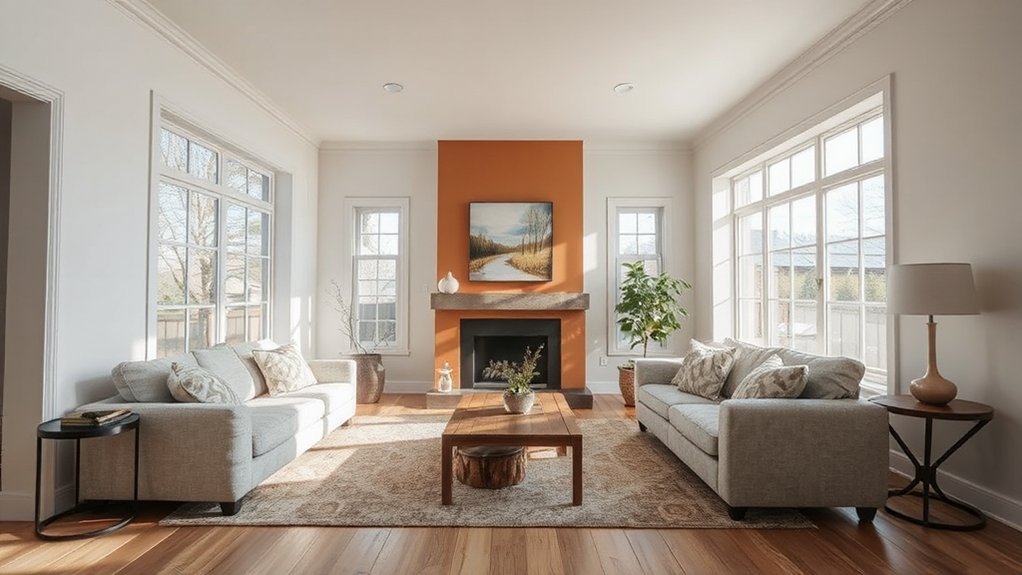
Repainting your interior does more than refresh color; it protects surfaces and elevates the room’s feel. When you start, you specify aims: improved look, easier maintenance, better acoustics, and longer pane longevity.
Interior painting delivers a cleaner surface free of imperfections, tighter seams, and enhanced lighting reflection. The result is a durable finish that withstands daily wear and tear, reducing future repairs.
You gain tonal control, depth, and mood customization without structural changes. Color mixing lets you tailor shades to existing furnishings, while precise brush techniques ensure uniform coverage and crisp edges along trim and corners.
You’ll notice fewer coats when you apply high-quality primer and consistent technique. Plan your process, stay deliberate, and achieve a professional, lasting result with efficiency and confidence.
How to Choose a Color Scheme That Sparks Joy
Color psychology basics show you how color affects mood and energy, so you can pick tones that feel uplifting rather than tiring.
Use palette coordination tips to balance bold accents with calm neutrals, ensuring harmony across rooms.
Start by identifying the vibes you want in each space and couple them with reliable color relationships to spark joy consistently.
Color Psychology Basics
Understanding how color affects mood helps you pick a scheme that supports the space’s function and your wellbeing. Color psychology basics empower you to align hues with daily tasks and long-term comfort.
You’ll consider color symbolism to convey intention—calm blues for focus, warm yellows to invite sociability, earthy greens for balance. Acknowledge emotional impact: saturated tones raise energy; softer shades reduce perceived clutter and create harmony.
For small rooms, light values widen perception; for rooms needing coziness, layered neutrals with a single accent color work best. Test in context: observe lighting variations, furniture, and artwork.
Prioritize consistency across walls, trim, and ceilings to avoid visual fatigue. Use your palette to reinforce purpose, not distract from it.
Palette Coordination Tips
Now that you’ve got color psychology in mind, you’ll want a scheme you can actually live with. Palette coordination boils down to balance, consistency, and intent. Start with a dominant base, add a secondary color for contrast, and reserve an accent for focal rooms or features.
Color mixing should stay purposeful: mix neutrals for longevity, then layer with purposeful pops to spark joy without chaos. Track palette trends to stay current, but tailor them to your space, light, and furniture. Use swatches in real rooms, not on screens, to see true undertones.
Maintain cohesion across rooms by repeating a shared hue or finish. Remember, restraint breeds harmony.
- Define a base, secondary, and accent in each room
- Test lighting and undertones with swatches
- Integrate a recurring hue across spaces
- Prioritize timeless neutrals and intentional pops
Picking Finishes: Which Sheen Works Where
Matte and sheen basics help you match the room’s use and lighting with the right finish. In each space, you’ll balance look, durability, and maintenance—choosing matte for low-reflective walls and sheens for high-traffic or moisture-prone areas.
We’ll map room-specific finish uses and practical upkeep to guide your selection.
Matte vs Sheen Basics
Choosing the right finish depends on room use and surface texture: matte hides flaws and dulls glare, while sheen adds durability and easier cleaning.
- Matte finish reduces reflections, softening appearance on textured walls.
- Sheen increases washability, ideal for high-traffic areas and kitchens.
- Matte minimizes surface imperfections for a calm, velvety look.
- Sheen offers durability and easier spot cleans without ambering over time.
When selecting, consider the Matte finish mindset for subtle, refined spaces, and opt for sheen comparison if you need resilience against fingerprints.
Use matte on walls with minor flaws to preserve quiet ambiance, then reserve sheen for trim or doors where fingerprints and scuffs are common.
Room-Specific Finish Uses
Different rooms demand different finishes, so pick sheens that match both function and traffic. In general, you’ll reserve higher sheens for spaces prone to fingerprints and moisture, like kitchens and bathrooms, to simplify cleaning.
Lower sheens work well in bedrooms and living areas where you want a softer look and less light reflectivity.
Use semi-gloss or satin for trim, doors, and cabinetry to reveal clean lines and resist scuffs.
For walls, you may combine flat or eggshell with strategic color blending to create depth and contrast without glare.
Consider paint textures to add dimension; subtle textures can hide imperfections while maintaining a cohesive feel.
Choose finishes with durable, washable formulations to support routine maintenance.
Durability and Maintenance
- Choose sheen by room function and cleaning needs
- Match color longevity to traffic patterns
- Prioritize scrubbable, stain-resistant finishes
- Patch and re-coat strategy to maintain uniformity
Assess Your Walls Before You Paint
Before you pick paint, inspect your walls for defects that could ruin a fresh look. Start with cleanliness: dust, grease, and chalky surfaces can ruin adhesion. Check for cracks, nail pops, peeling paint, or stains that may bleed through. Press firmly to identify loose patches; sand until edges blend smoothly.
Assess wall texture—popcorn, skip trowel, or stippled surfaces influence prep and finish. Look for efflorescence or moisture damage, which signal underlying issues that must be resolved before coating.
Test paint durability by applying a small spot test in a hidden area to confirm adhesion and color evenness. Address repairs with appropriate patching compound and primers matched to your substrate.
Proper preparation yields uniform color, lasting aesthetics, and minimized repaint cycles.
Tools and Materials to Cut Painting Time
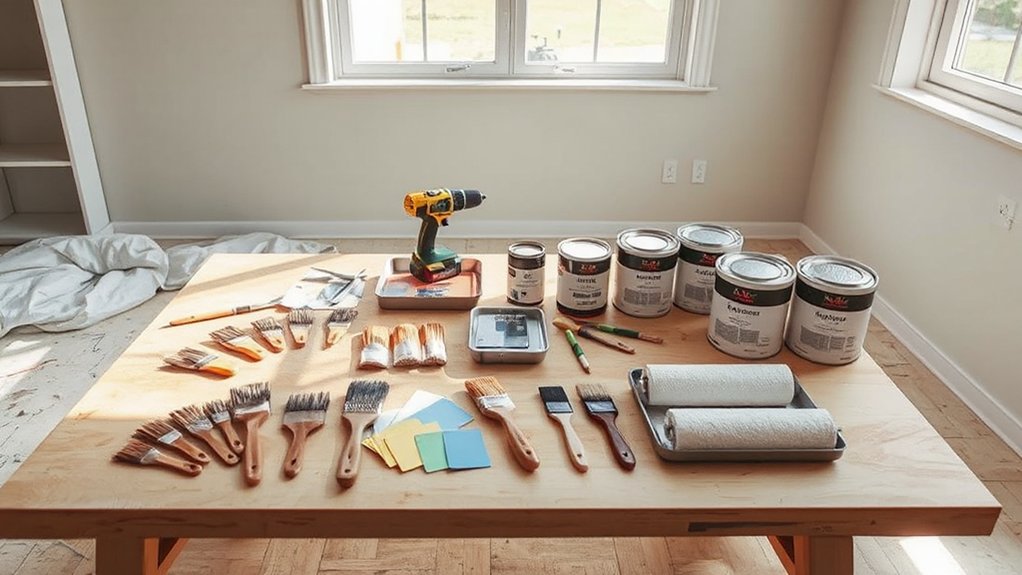
Once you’ve prepared the surface, choosing the right tools and materials can dramatically cut painting time while improving results. You’ll prioritize efficiency without sacrificing finish, aligning color schemes and texture considerations with the workflow.
- Quality roller covers and a trimmable pole reduce passes and fatigue.
- High-adhesion primer and fast-dry topcoat for fewer coats.
- Edgeless brushes for clean lines on walls with varied textures.
- Paint tray liners, extension pole, and a roller grid to minimize cleanup and downtime.
For color schemes, pick complementary hues that reduce touch-ups. For wall textures, choose compatible rollers and nap lengths to maintain even coverage. This setup yields faster coverage, cleaner edges, and consistent color across rooms.
Surface Prep Essentials: Patch, Sand, Clean
Surface prep is the foundation of a durable, even finish, so you’ll patch gaps, sand rough spots, and clean surfaces thoroughly before you start painting. You’ll address wall textures with targeted patches, smoothing highs and filling lows until the surface feels uniform.
Use a scraper to remove blistered paint, then sand edges to prevent ridges under the new coat. Clean surfaces with a damp cloth or degreaser to remove dust, oils, and residues that can cause poor adhesion.
Wipe down ceilings, trim, and doors, paying attention to corners and seams. Choose paint brands with proven coverage and durability, and match finishes to room function.
Drying times matter—don’t rush between coats; proper prep guarantees a flawless, long-lasting result.
Do You Really Need Primer? When It Matters
Primer isn’t always required, but it matters in key scenarios. You’ll want it when you’re painting over bare wood, stained surfaces, or slick finishes.
It’s also important when color changes are dramatic or you’re switching between radically different pigments. Understanding where primer helps guarantees a durable, even finish without wasting coats or money.
Primer Applicability Scenarios
Primer isn’t optional when you’re painting over bare wood, stained surfaces, or previous glossy coats; in these cases, applying the right primer can prevent stain bleed, improve adhesion, and guarantee a uniform finish.
- Surface texture cues indicate primer needs: sanding, rough patches, or porous areas that trap stain.
- Choose the right primer types for your substrate to seal, block, and bite properly.
- When you need stain-blocking, opt for shellac- or oil-based primers for ambitious bleed risks.
- For glossy or nonporous surfaces, use bonding or high-adhesion primers to guarantee durable coverage.
When Primer Is Essential
Is primer essential? Yes, in specific cases that affect finish longevity and color accuracy. If you’re repainting bare wood, stained surfaces, or drywall with repairs, primer creates a uniform base, blocks stains, and improves adhesion.
You’ll want a bonding primer on glossy surfaces to prevent peeling later. For walls with heavy textures or new drywall, primer reduces porosity and prevents uneven paint absorption, delivering a smoother final coat.
In rooms with high humidity or kitchen and bath areas, use stain- and moisture-resistant primers to prevent bleed-through and mold issues.
Consider your paint brands and choose primers compatible with your topcoat; mismatches can compromise coverage. When in doubt, apply a thin, even coat first, then evaluate coverage before committing to a full second coat.
Printable Room-by-Room Prep Checklist
A printable room-by-room prep checklist helps you tackle repainting methodically, preventing missed spots and wasted time. Your approach starts with a high-level inventory, then assigns tasks by space, surface, and deadline. Use this checklist to confirm materials, protect nonpainted areas, and time prep steps to flow into painting sessions.
Include color mixing notes and brand-specific considerations so you know what you’ll actually use across rooms. Reference color consistency, edge cases, and touch-up tactics to keep finish uniform. This tool keeps you accountable and minimizes backtracking, helping you stay on schedule and within budget while preserving surface integrity.
Keep it accessible and updateable as plans evolve.
- Inspect surfaces and prep per room
- List required supplies and safety gear
- Note color mixing and paint-brand specifics
- Schedule prep milestones by space
Step-by-Step Interior Painting Process

To start your project, you’ll master surface preparation steps to guarantee the finish sticks and lasts. Then apply primer and sealing tips to block stains and create a uniform base before any color goes on.
As you begin the in-progress painting process, you’ll follow efficient workflows that minimize drips and maximize coverage.
Surface Preparation Steps
Before you apply any paint, you must properly prepare the surface. Surface preparation steps ensure adhesion, finish quality, and durability. You’ll remove debris, repair cracks, and smooth rough spots, then clean all areas thoroughly.
Sand glossy surfaces to dull them, wipe with damp cloth, and let dry completely before priming or painting.
Proper masking protects trim and adjacent rooms, while ventilation reduces fumes. Label and store leftover materials for future touch-ups.
- Clean the surface with an appropriate method (detergent or solvent) and allow drying.
- Fill cracks, holes, and gaps with compatible filler; sand flush once dry.
- Lightly sand glossy areas to promote adhesion; dust off residue.
- Plan for paint storage after completion, and organize cans for future touch-ups.
Primer And Sealing Tips
Primer and sealing set the stage for a durable, even finish. You’ll prep by choosing the right primer for wall texture and substrate, then apply a coat that blocks stains and seals porous surfaces. Use a tinted primer if changing color dramatically to reduce coats. Sand lightly after it cures to smooth the surface without creating halos.
Seal seams, nail holes, and joints with appropriate acrylic or shellac sealant before painting. When selecting sealers, consider odor control and drying time to limit paint fumes exposure. Ventilate well during application and drying to promote safer air quality.
Finish with a high-quality finish coat, ensuring even coverage and a consistent sheen. Clean brushes promptly to maintain performance and minimize waste.
In-Progress Painting Process
Step-by-step, you’ll execute the interior painting process in clear, chronological order: set up the workspace, protect floors and furnishings, and organize tools for efficient, dust-free work.
- Inspect surfaces for flaws, then repair as needed.
- Stir and strain paint, achieve uniform color with brush techniques for edges.
- Cut in corners, then roll walls in even, overlapping passes.
- Clean as you go, label cans, and store tools to minimize dust.
You’ll maintain a steady pace, monitor humidity, and avoid splatter by using shields. Use proper brush techniques along trim, and maintain a wet edge to prevent lap marks.
During paint mixing, test color samples on a scrap before committing. This disciplined approach guarantees crisp lines, even coverage, and a professional finish.
Cutting In vs. Rolling: Techniques for Perfection
When you’re painting interiors, cutting in and rolling aren’t interchangeable steps—they’re complementary techniques that, used correctly, deliver clean edges and even coverage. Cutting in creates crisp boundaries along ceilings, trims, and corners, while rolling speeds large-area work and flats out pigment for uniform color.
To master both, manage paint consistency: keep it slightly on the thicker side for cutting, then back off for rolling to avoid lap marks. Use deliberate brush techniques for cutting—steady, short strokes that feather into adjacent areas.
For rolling, apply in a W or M pattern, then fill gaps without re-dipping too frequently. Maintain a wet edge to prevent edge lines. Synchronize timing so edges dry just as rolls reach the center, ensuring a seamless, professional finish.
Fixing Cracks, Stains, and Problem Areas
Cracks, stains, and other problem areas demand a targeted, methodical approach to restore a smooth, uniform surface. You’ll identify causes, then choose the right repair: smooth filler for small cracks, patch compound for larger gaps, and stain-blocking primer where needed. Prep is essential: protect surroundings, sand edges flush, and wipe dust before painting.
Consider wallpaper removal prior to repair if adhesion issues exist, ensuring a clean substrate. Apply only as much product as needed to level the surface, then sand lightly between coats for a durable finish.
- Assess and isolate hotspots with appropriate filler
- Sand to feather edges, wipe clean
- Use stain-blocking primer where discoloration persists
- Wallpaper removal considerations and furniture protection throughout
These steps keep surfaces even, minimize texture transfer, and safeguard furnishings during the repair process.
Drying, Curing, and When to Recoat

After you’ve finished applying repair products, you’ll wait for the coating to dry to the touch before moving on. Then test for cure by checking heat, tackiness, and firmness.
Drying, curing, and recoat timing hinge on surface type, temperature, humidity, and film thickness. Use dry, between-coat intervals that align with manufacturer guidelines, not estimates.
Monitor for dust, splatter, or surface contamination that can extend drying times or hinder cure. Drying techniques focus on even airflow and steady conditions to prevent streaking or blistering.
The curing process completes when the coating reaches its rated hardness and resistances, at which point recoating or topcoat application is appropriate if warranted by color or gloss goals.
Allow full cure before heavy cleaning or placement of objects against walls.
Edges, Ceilings, and Trim: Finishing Touches
Edges, ceilings, and trim require careful attention to achieve clean, professional results: tackle these finish work areas after the main walls have been coated, using tight masking and steady hand control to prevent splatter.
- Edge finishing around corners and moldings for sharp lines
- Seamless ceiling coverage with attention to texture and drip control
- Flat vs. textured ceiling handling to preserve ceiling textures
- Trim and crown molding defense against bleed-through and fuzz
You’ll maintain crisp boundaries by cutting in with the same paint as the walls, then fill gaps with minimal overlapping. Use long, smooth strokes for uniform color and avoid stops and starts. Check for drips, feather edges, and finish consistency before the paint dries.
Proper masking, and steady posture, guarantee a professional, no-splash result that highlights the room’s architectural details.
Clean-Up, Storage, and Long-Term Maintenance
Keep cleanup simple with warm, soapy water for waterbased paints, or mineral spirits for oil-based coatings, and rinse until the rinse runs clear. Collect rags and drop cloths in a dedicated bin to reduce cross-contamination and odors.
For storage, seal cans tightly, label with color and date, and store upright in a cool, dry area away from heat.
Plan ongoing upkeep with simple cleaning routines: dust surfaces lightly, wash splatters promptly, and inspect for touch-ups.
Use storage solutions like labeled bins and a pegboard system to streamline accessible materials and keep your workspace organized.
Common Painting Pitfalls and How to Avoid Them
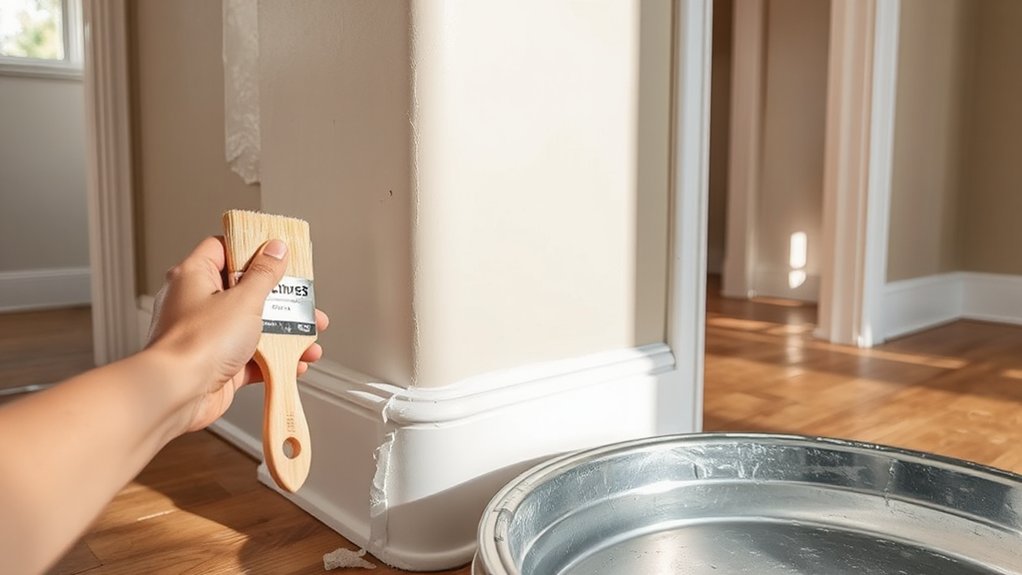
Paint projects fail for a few simple reasons, and recognizing them early helps you stay in control. You’ll avoid costly delays by prep, timing, and choosing reliable products. Watch for rushed surfaces, improper primer, incompatible finishes, and poor equipment choices. Correct each pitfall before you paint, and you’ll achieve a durable, professional look.
Consider color trends to guide accents without overcommitting, and select eco-friendly paints to minimize odor and environmental impact.
- Skipping prep or cleaning leads to peeling and uneven coverage.
- Using the wrong primer or incompatible topcoats causes adhesion failures.
- Overloading tools creates drips, sags, and texture mismatch.
- Ignoring ventilation and drying times undermines finish quality and safety.
Budgeting Your Interior Repaint Without Surprises
Effective budgeting for an interior repaint starts by setting a clear scope and estimating costs early, so you’re not surprised by hidden expenses later. You’ll begin with a precise breakdown of rooms, surfaces, and finishes, then translate that scope into a transparent line-item budget.
Focus on budget planning that includes primer, paint, tools, and disposal costs, plus any necessary prep like patching or sanding. For cost estimation, obtain at least three quotes for labor if you’re hiring pros, and compare material packs to identify savings.
Build a contingency of 10–15% for unforeseen fixes. Track expenditures against the plan in real time to avoid scope creep. Prioritize durable, stain-resistant finishes when applicable to reduce long-term costs and maintenance.
Time-Saving Hacks for Busy Schedules
If you’re pressed for time, start by prioritizing tasks that deliver the biggest gains in the shortest run, such as sealing and priming high-traffic areas before tackling full rooms. Time management isn’t about rushing; it’s about sequencing for efficiency and quality, so you finish faster with minimal rework.
You’ll find creative inspiration by batching similar tasks and using ready-to-use kits that reduce decision fatigue.
- Seal, prime, and paint high-traffic zones first to lock in durability
- Prep with precision: quick wipe-downs, dust removal, and tape on clean edges
- Use color samples strategically to avoid repainting loops
- Set a timer for each step to sustain momentum and avoid overthinking
This approach keeps momentum, reduces downtime, and sharpens focus for better results.
Room-by-Room Repaint Plan: Living Room to Home Office
Think about establishing a room color cadence as you move from living room to home office, ensuring each space feels connected yet distinct. Consider how workspace color psychology can influence focus, mood, and productivity.
Guiding your shifts between rooms is important. Start with a base palette and assign tonal shifts that support both relaxation in the living room and concentration in the office.
Room Color Cadence
To establish a cohesive flow from room to room, start with a unifying color cadence that progresses logically from the living room to the home office. You’ll build color harmony by selecting a core palette and applying consistent undertones, while allowing deliberate shade contrast to define each space.
Use a shared base color across rooms, then introduce one accent hue per area to maintain cohesion without sameness.
- Core base color carried through all rooms
- Subtle shade progression from lighter to deeper tones
- One accent hue per room to sharpen transitions
- Finishes and textures align to reinforce cadence
This approach creates continuity, reduces visual fatigue, and preserves mood across the sequence, guiding you from communal to private work zones with intentional rhythm.
Workspace Color Psychology
Consider furniture placement first: position desks to face natural light without glare, and use shelving to create visual boundaries that minimize distraction. Light quality matters; choose lighting effects that mimic daylight for alertness, or soft, indirect lighting for evening tasks.
Use color contrasts deliberately—neighboring rooms should flow, but allow one accent color to signal transition zones. Finally, test swatches at different times of day to guarantee the palette sustains productivity across work sessions.
Hire Pros vs. DIY: What to Ask Before You Start
Deciding between hiring pros and DIY hinges on clarity: know what tasks you can safely handle, what needs a pro, and which questions to ask before you start.
- Compare contractor costs and get written estimates, noting inclusions, timelines, and warranty terms.
- List required DIY tools vs. rental options, and assess whether your skills meet the project’s scope.
- Ask about surface prep, caulking, priming, and whether a dust-free containment plan is possible.
- Clarify insurance, licenses, permits, and cleanup responsibilities to avoid hidden charges.
If you opt for pros, insist on a detailed contract, milestone reviews, and a clear change-order process.
If DIY, confirm your limits, safety protocols, and a realistic schedule to minimize redo.
Frequently Asked Questions
How Long Does Interior Paint Typically Last Before Repainting?
Typically, interior paint lasts about 5 to 10 years before repainting becomes advisable, depending on wear. You should assess color fading, scuffs, and edges; monitor paint durability, then plan repaint timing accordingly for best results.
Can Paint Color Affect Mood and Room Perceived Size?
Color psychology, absolutely—color can calm or energize you and shift room perception. You’ll notice brighter hues expand spaces; cooler tones feel airy while warmer tones feel cozy. Choose thoughtfully, because mood and room perception hinge on color.
What Are the Healthiest Paint Options for Indoor Air Quality?
You should choose Eco friendly coatings and Low VOC paints to improve indoor air quality. These options reduce emissions, limit odors, and promote healthier spaces, while maintaining color and finish. Verify certifications, proper ventilation, and low-emission primers for best results.
Do You Need a Primer for Both Walls and Ceilings?
Yes, you should prime both surfaces. For primer application, apply to walls first, then ceilings after drying. Do ceiling preparation thoroughly, feather edges, and use compatible products to guarantee adhesion and even finish.
How to Store Leftover Paint Safely for Future Touch-Ups?
You should store leftover paint in airtight storage containers, label clearly, and keep away from heat or flames. For safety, avoid mixing various colors; if needed, seal, refrigerate briefly, and use within a few weeks for best results.
Conclusion
As you stand before fresh walls, imagine sunlight bending across new color, like a quiet sunrise over a calm lake. Your stains fade, corners crisp,空气 breathing with renewed life. You’ve mapped every stroke, chosen finishes that endure, and budgeted smartly so every dollar feels earned. The room becomes a canvas of daily comfort and clarity, guiding readers from clutter to calm. With each brush, you’re not just repainting—you’re rewriting how you live inside it.



