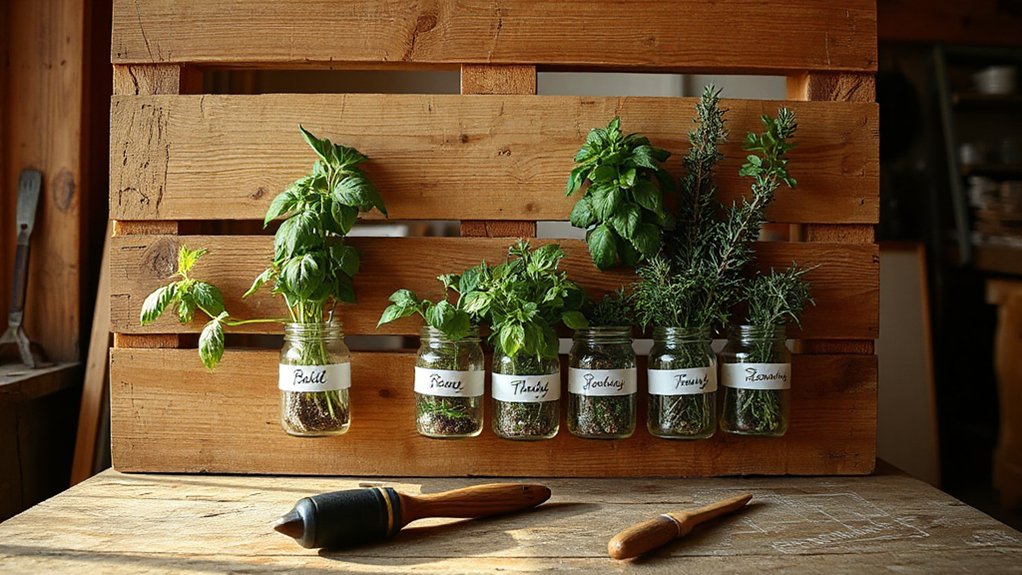

You don’t need a big budget to transform a space—smart reuse, simple paint, and clever storage can deliver a noticeable upgrade fast. Start with a small project you can finish this weekend, then note what changed for the better: curb appeal, organization, mood. Ready to see how budget tweaks compound and what to tackle first to keep momentum without overspending?
Key Takeaways
- Prioritize high-visibility wins: entryway lighting, hardware updates, and accent walls to maximize impact with minimal cost.
- Use smart layering: combine paint, inexpensive decor, and budget-friendly lighting for cohesive transformations.
- Upcycle creatively: repurpose doors, jars, and boards into storage, planters, and decorative accents.
- Focus on efficiency tweaks: weatherproofing, sealing gaps, and insulation to cut bills while upgrading comfort.
- Implement quick weekend projects: two-day builds like herb window boxes, pegboard tool zones, and vertical planters.
How Low-Cost DIY Projects Deliver Big Home Wins
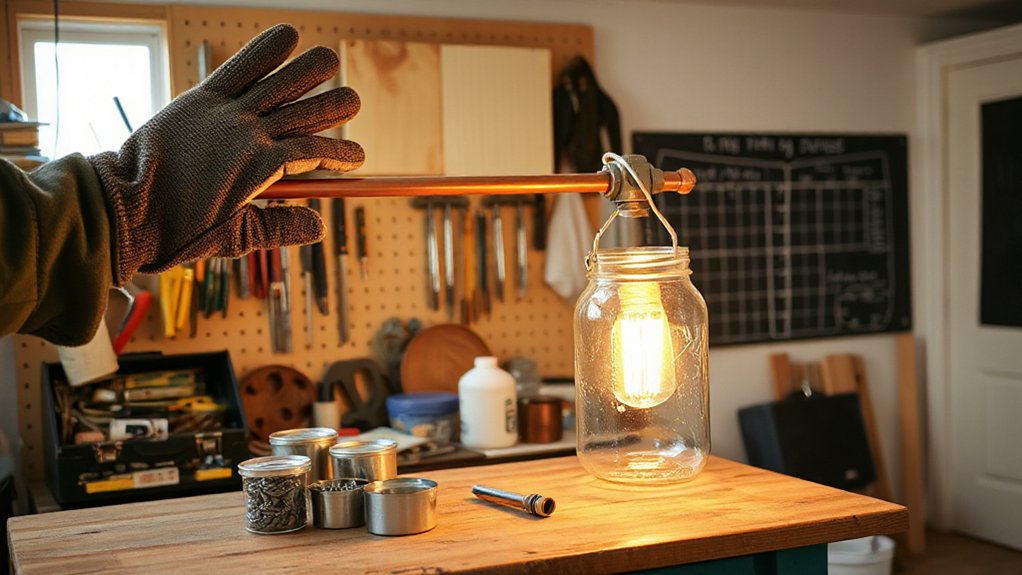
Small changes, big impact. You don’t need a full renovation to elevate a space; you need smart, low-cost moves that compound over time. Begin with Affordable appliances that boost efficiency without breaking the bank—compact dishwashers, energy-saving bulbs, and smart plugs can cut bills and upgrade daily use.
Next, reframe your outdoors with Budget landscaping: yards that look intentional are achievable through native plants, mulch, and simple paths. Focus on high-visibility wins first—entryway lighting, refreshed hardware, and a fresh coat of paint on an accent wall.
Measure impact by cost per improvement, not total spending. You’ll see quicker returns, fewer headaches, and room to scale. Practical, deliberate tweaks compound into meaningful home wins without overextending your resources.
Upcycling: Turn Clutter Into Curb Appeal
Upcycling turns clutter into curb appeal by giving everyday items a second life that’s both stylish and practical. You spot opportunities where others see junk, then reimagine doors, jars, and boards into functional accents. Start with a focused goal: a usable piece that enhances curb presence without clutter.
Choose durable finishes and simple lines to keep a polished look. Combine Recycling art with practical purpose—painted metal cans become planters, mismatched tiles form a porch welcome, and old crates stage entryway storage. Label and glaze surfaces to protect outdoor use, ensuring longevity.
Prioritize safety: sand rough edges, seal weathered wood, and test paints in a small area. Use Vintage signage sparingly, as a single focal element to avoid visual noise while reinforcing character. Your curb appeal, built from attainable cast-offs, feels intentional and fresh.
Quick Budget-Friendly Decor Makeovers
Try quick paint transformations to refresh walls and furniture without breaking the bank. Then layer in upcycled accessory ideas for a fresh focal point.
Pair these changes with lighting on a dime to amplify impact and atmosphere. You’ll create bold, cohesive decor fast by combining these three strategies into a single, practical makeover plan.
Quick Paint Transformations
Transforming a room with paint is one of the quickest, most budget-friendly ways to make a big impact. You’ll gain instant mood shifts and refreshed energy without breaking the bank.
Start with a clean slate: wash walls, repair nicks, and use painter’s tape for sharp edges.
Choose colors with intention—color psychology guides how a space feels, from calming neutrals to energizing accents.
Don’t overcomplicate: two coats max, quality rollers, and proper drying times ensure longevity.
For durability, prime blemishes and select a finish suitable for traffic; satin or eggshell resists scuffs while remaining easy to wipe clean.
Test swatches in lighting that mirrors your daily routine, then assess after a full day.
Quick, smart, transformative, and ready for real-life use.
Upcycled Accessory Ideas
If you’re glued to a tight budget, quick upcycled accessory ideas let you refresh a space without buying new. You’ll transform everyday items into focal points with intentional tweaks.
Start with vintage jewelry as jewelry-display charms or curtain tie accents—silhouette, color, and texture add personality without expense.
Next, repurpose fabric scraps into compact pads, banners, or decoupage accents on trays and boxes, keeping color cohesion in mind.
Use hot glue or low-temp glue guns for clean, fast results, avoiding bulky hardware.
Label and group items by theme to maintain a cohesive look; contrast metal tones with soft textiles for depth.
Keep finishes simple: a light spray of clear sealant protects fabric scraps and jewelry details while preserving bold drama.
Practical, stylish, affordable upgrades—done in hours, not weeks.
Lighting on a Dime
Brighten any room without breaking the bank by swapping in simple, high-impact lighting tweaks. You’ll start by layering light: ambient, task, and accent all in play.
Swap harsh bulbs for warm LEDs, aiming around 2700K to 3000K for cozy glow. Add a dimmer switch to modulate mood without remodeling.
Create focal points with vintage accents—an old lamp refitted with a modern shade or a brass sconce—so your space feels curated, not cluttered.
Elevate corners with floor lamps that direct light upward, widening the room visually.
Integrate indoor gardening by placing compact plants near windows to reflect light and soften shadows.
Small electrical updates, like plug-in sconces, keep costs low while invigorating the atmosphere.
Practical, precise improvements yield immediate, noticeable results.
Where to Save: Energy-Saving Swaps That Pay Back
You can start saving today with a quick energy audit to spot the biggest levers.
From there, apply simple weatherization tips and adopt smart, power-saving habits that cut costs and set you up for lasting returns.
These swap ideas—focused on efficiency—pay back faster than you might expect.
Quick Energy Audits
Start with a quick energy audit to spot the biggest backsliders and the smartest bets. You’ll map where energy slips most, then prioritize fixes that return value fast.
Begin by checking your meter for unusual spikes and tracking daily usage through a simple chart. Inspect obvious culprits: drafts, gaps around doors, and attic access. Feel for air leaks and listen for whistling or hums that reveal bad seals.
Compare heating and cooling runs to outdoor conditions; shorter cycles usually hint at insulation gaps or door/window leaks. Prioritize high-impact moves: sealing leaks, improving home insulation where it matters, and reducing phantom loads with smart power strips.
You’ll improve energy consumption now, with practical tweaks that pay back and stay out of the weatherized domain.
Simple Weatherization Tips
Weatherization pays off fast when you start with smart, simple swaps. You’ll tighten drafts and lower bills by focusing on practical, repeatable steps you can do this weekend.
Inspect doors and windows first, then seal with weather stripping where gaps are obvious; it’s quick, inexpensive, and immediately noticeable. Add door sweeps to prevent creeping air beneath thresholds.
Upgrade to a smart thermostat, programmable if you prefer, so heating and cooling align with actual use, not guesswork. Seal outlets and switch plates with inexpensive foam gaskets to stop phantom losses.
Seal leaks around attic hatch and recessed lighting using appropriate attic-rated materials.
After these basics, monitor your energy pattern—small tweaks compound into meaningful savings without overhauling your system. Simple, targeted fixes deliver consistent comfort and payback.
Smart Power-Saving Habits
- Seal drafts with weatherstripping and doorsills to cut heat loss and reduce furnace cycles.
- Swap incandescent bulbs for LEDs, then use timers or smart plugs to curb idle electricity.
- Set thermostat shifts by 2–3 degrees and program heat–cool cycles to match daily routines.
- Use smart power strips to cut phantom loads at night and during work hours.
These moves reinforce practical, repeatable actions, not one-off fixes. With consistent effort, you build reliable energy awareness and habit formation, driving measurable reductions in bills and emissions.
Garden Hacks for Instant Curb Appeal on a Dime
Boost your home’s curb appeal on a tight budget with quick, practical garden hacks that deliver visible impact fast. You’ll start with clean lines and defined edges, then plant strategically to maximize color and texture.
Focus on essential plant care: mulch to retain moisture, and rotate flowering varieties so blooms extend seasonally. Choose hardy, drought-tolerant species for reliability and low maintenance.
Implement simple garden design tricks: contrast with dark mulch against light foliage, group plants in odd numbers, and create focal points like a single ornamental shrub or a bright pot.
Use inexpensive containers to lift entryways and front borders without major digging. Keep paths clear and add a splash of color with seasonal annuals.
Your curb appeal rises quickly through thoughtful Garden design and practical Plant care.
Super Cheap Storage Hacks That Really Work
Pegboard pantry hacks, under-bed storage tricks, and vertical wall shelves prove you don’t need pricey gear to maximize space.
You’ll set up quick, modular options that keep essentials visible and reachable.
These ideas mix low cost with high payoff, so you can organize with confidence.
Pegboard Pantry Hacks
1) Install a single, sturdy pegboard near the prep area, then hang baskets and hooks to sculpt zones for snacks, spices, and bulk items.
2) Color-code by category with labeled bins, so you never hunt for the last jar of pasta or foil.
3) Use vertical dividers for lids, wraps, and cutting boards; maximize slim gaps that rarely get used.
4) Add a shallow shelf across the top rail for seasonal jars and overstock, keeping the counter clear.
Under-Bed Storage Tricks
Under-bed storage isn’t a gimmick—it’s a smart, super-cheap extension of the pegboard pantry mindset. You’ll maximize space by using slim, wheeled bins that glide beneath the bed, labeled for quick retrieval. Opt for flat, low-profile containers to avoid height conflicts with drawers or bed skirts.
Create hidden compartments with shallow drawers or lift-top lids inside a frame, perfect for seasonal gear or cables. Install foldable stackers that collapse when not in use, preserving clearance while expanding capacity. Use bed risers to gain extra inches without altering furniture.
Seal dust-prone items in airtight bags or totes, then place them on the far side for easy access. With discipline, you reclaim cluttered underspaces, delivering organized simplicity—no excess gear, just efficient logistics. Under bed storage tricks, hidden compartments.
Vertical Wall Shelves
- Picture frames, plants, and compact decor perched at varying heights for visual rhythm.
- Lightweight boxes and baskets labeled for quick finds and neat storage.
- Small speakers, chargers, and cables tucked behind a slim lip for minimal clutter.
- Recipe cards, spices, or office supplies arranged by usage zones for fast access.
Cleaning Upgrades Using Common Materials
Start with simple mixes: distilled vinegar, baking soda, and a splash of lemon for natural scrubbing power. Add a reusable spray bottle to cut waste and control application.
When tackling grime, choose microfiber cloths; they lift dirt without harsh chemicals.
For floors, a mild solution of soap, water, and a pinch of borax replaces heavy cleaners while delivering solid results.
Emphasize Eco friendly cleaning by prioritizing reusable tools and minimal packaging.
For messes, opt for biodegradable solutions that break down quickly in the environment, preserving your space and the planet.
Your low-cost upgrades deliver big, lasting impact.
Quick Weekend Wins: Small Projects, Big Impact
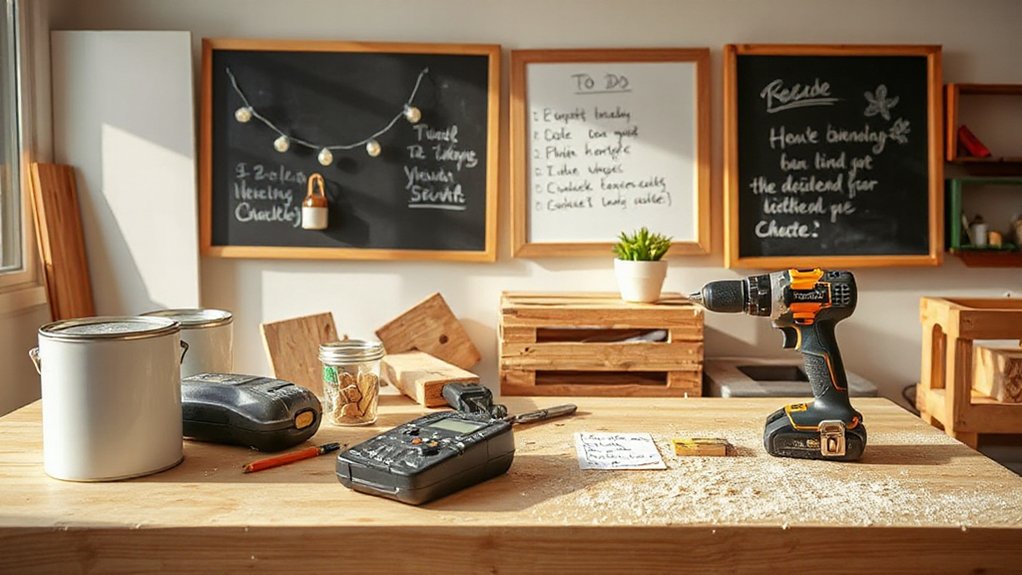
You’ve got a weekend pulse of momentum now, turning those small, practical wins from common-material cleanups into quick, high-impact projects you can finish in two days or less. You’ll feel the lift as low-cost tasks deliver real results, quickly. Budget gardening and DIY organization stay front and center, proving restraint boosts impact. You’ll choose items that require minimal setup, maximum payoff, and leave no mess behind.
1) Build a compact herb window box that fits sunny wall space and uses reusable containers.
2) Install pegboard zones for tools, with labeled, modular hooks to speed daily chores.
3) Create a vertical planter for high-value greens using recycled bottles.
4) Declutter a closet with clearly defined zones and a simple, repeatable flow for maintenance.
Repurposing Furniture: Fresh Looks for Less
You can refresh furniture on a budget by leveraging fresh looks that transform spaces without breaking the bank. Quick refurbish ideas, like repainting or reupholstering, keep projects simple and costs low.
Explore upcycled chair transformations to demonstrate how small changes yield bold, lasting impact.
Fresh Looks, Low Cost
Ever thought you can give a dated chair or cabinet a fresh, high-end feel without breaking the bank? You can, with focused repurposing that sheds price tags, not staples. Use simple paint techniques to sculpt texture, color, and contrast, then seal for durability.
This approach blends budget gardening vibes with practical, craft-ready results you can trust.
- Sand lightly, then chalk-paint a mellow base for depth.
- Add a two-tone glaze to highlight edges and curves.
- Swap hardware to instantly upgrade the silhouette.
- Apply a matte topcoat to guard against daily wear.
Prepare a small workspace, test finishes on scrap, and measure before you cut or drill.
This method delivers fresh looks, low cost, and confident, publish-ready results.
Quick Refurbish Ideas
Start with a simple plan: choose a focal piece, then align surrounding items to complement it. Prioritize function—adjust heights, stabilize wobbly legs, and seal surfaces to preserve color.
Refinish with a single, bold coat or a sympathetic stain to unify mismatched pieces. Swap hardware for an instant update that feels new.
Don’t overlook layout; furniture arrangement matters as much as color. Elevate spaces with practical flair: add indoor plants to soften lines, improve air quality, and guide flow.
Keep tools handy, measure before cuts, and test fit in place before final assembly. Your refreshed space, done efficiently, delivers big impact.
Upcycled Chair Transformations
Could a few tweaks turn an ordinary chair into a standout piece? Yes. You transform with intent, not excess, and you’ll feel the value in each step.
Upcycled chair transformations demand clean lines, durable finishes, and thoughtful fabric choices that echo vintage fabrics while avoiding cliché looks. You’ll pair simple structural updates with restrained color and texture to avoid clutter, then lean into creative gardening-inspired motifs for a fresh, grounded vibe.
Below are four actionable ideas to picture clearly:
- Reupholster with a vintage fabric pattern for instant character
- Sand, prime, and paint legs in a bold, complementary hue
- Add a handmade cushion that emphasizes ergonomic comfort
- Incorporate a small plant, or terrarium, on the seat for texture
These tweaks deliver practical impact without excess.
Thrifted Finds That Transform a Room
Thrifted finds can transform a room in surprising ways, turning everyday items into statement pieces without breaking the bank. You choose purpose over polish, staging each piece to highlight contrast and texture.
Start with vintage artwork scaled to your wall’s focal zone, pairing bold frames with simple mats to sharpen impact. Then pick thrift store lamps that balance ambient light with character; a ceramic base can feel bespoke when paired with a clean shade.
Use color pulls from your existing scheme to unify rooms, not overwhelm them. Prioritize durability: check hardware, cords, and finishes before committing.
Edit relentlessly—swap, rearrange, and resist fads. With deliberate choices, these thrifted finds become cohesive design elements that elevate space without overspending.
Simple Weatherproofing Tricks to Cut Bills
Weatherproofing your home doesn’t have to be complicated or expensive. You’ll cut bills with practical tweaks that last.
- Inspect edges and corners, then apply sealant applications where drafts lurk, sealing gaps around windows and doors.
- Add simple weatherstripping to doorframes and window perimeters to keep warm air in and cold air out.
- Upgrade insulation where it matters most, prioritizing attic and basement spaces for significant gains.
- Use draft stoppers and door sweeps to block sneaky air leaks at thresholds and under exterior doors.
These steps boost comfort and efficiency without a big budget. Prioritize insulation upgrades in high-heat or cold zones, then sealant applications to lock the gains.
You’ll notice steadier temps and lower energy bills.
Lighting Tweaks for Mood and Efficiency
Lighting can transform rooms as effectively as weatherproofing transforms drafts—small tweaks can boost mood and cut energy use. You’ll start with smart bulbs, dialing color temperature and brightness to match tasks and times of day. Schedule schedules or scenes that shift from bright, energizing whites for work to warm tones for winding down, without manual fiddling.
Add motion sensors in hallways and closets so lights auto-switch off when spaces are empty, reducing waste. Use dimmers on primary living areas to fine-tune ambiance while conserving power. Group lighting by function: ambient, task, and accent, then simplify controls to minimize defaults you’ll ignore.
Keep fixtures clean and bulbs well-seated for consistent output, and choose LEDs for long life and efficiency.
Community DIY: Shared Tools, Shared Savings
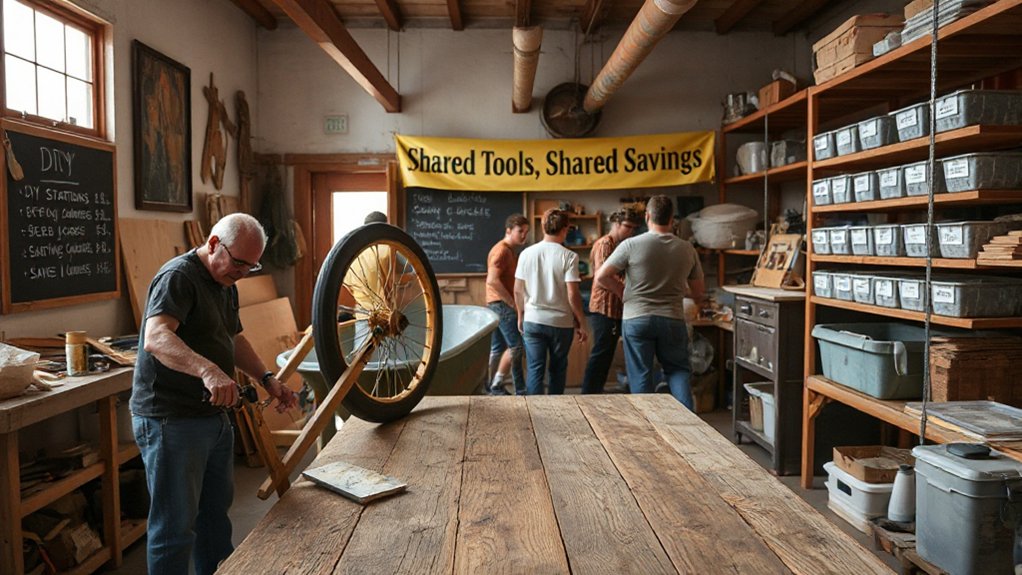
Tap into a shared toolkit to cut costs and boost output. You’ll leverage Tool sharing to maximize every purchase, while growing community savings and collaboration. These practical steps help you scale DIY without breaking the bank.
- Pool resources with neighbors to rent specialty gear, reducing idle costs and storage needs.
- Schedule rotating tool duties so everyone benefits from high-use items, lowering purchase drift.
- Create a simple catalog with condition notes, ensuring quick, responsible turnovers.
- Match projects to the right tools, avoiding duplicate buys and extending tool life through shared maintenance.
This approach strengthens your neighborhood workflow, boosts project momentum, and protects budgets. You gain access to more capabilities, faster turnaround, and tangible community savings—without sacrificing quality or control.
Smart Budget Planning for Sustainable DIY
Smart budget planning is the backbone of sustainable DIY, letting you stretch every dollar without sacrificing quality. You’ll map costs before you cut, prioritizing durable, reusable components over cheap, single-use options.
Begin with a clear goal, then itemize materials, tools, and waste, and set a hard cap for each category. Practice budget mindfulness by tracking every purchase, evaluating alternatives, and renegotiating price with suppliers when possible.
Favor sustainable materials that offer long life and easier maintenance, even if the upfront price is higher, because total lifecycle cost matters most. Seek functional, modular designs that adapt over time, reducing future purchases.
Don’t overspec; choose precise components that meet needs without excess. Plan for upgrades, not replacements, and document decisions for future projects.
Troubleshooting Common DIY Setbacks Without Breaking the Bank
When DIY projects stall, quick, low-cost fixes keep momentum without blowing your budget. You’ll handle common setbacks with a calm plan, avoiding costly detours. Stay focused on practical fixes and smart budget planning to prevent repeat issues.
- Identify the root cause, not the symptom, then swap inexpensive parts or adjust tolerances to restore function.
- Re-purpose existing materials, test-fit first, and iterate until the fit feels secure—saving both time and money.
- Use measured, temporary supports or clamps to stabilize work, buying you leverage to reassess before buying new tools.
- Document lessons learned, update your budget, and schedule preventative steps to dodge common pitfalls next time.
Frequently Asked Questions
How Can I Prioritize Projects for Maximum Impact on a Tight Budget?
Prioritize projects by impact per cost, then time. Start with high-visibility wins, estimate ROI, and set a strict budget. Use creative design to maximize effect, and practice disciplined time management to avoid scope creep and delays.
What Low-Cost Materials Deliver the Biggest Results Fast?
Budget hacks beat brute force; lightweight, fast wins come from smart material sourcing. You’ll grab affordable basics, skip flashy fillers, and channel results—quickly. You source well, you save, you deliver big impact with practical flair.
How Do I Estimate Costs Before Starting a DIY Project?
Yes: you estimate costs by budgeting upfront and researching specs. You’ll map tasks, price materials, add contingencies, and track changes. Budget planning guides you; Material sourcing saves money while keeping quality. You’ll compare vendors and lock-in quotes.
Which Projects Require Minimal Tools and Equipment?
Behold your answer: you can start with budget friendly hacks and simple toolkits. Many projects require minimal tools, like painting, upcycling, or basic shelving, because you already own essentials—drills, screwdrivers, tape, and a measuring tape.
How Can I Avoid Common DIY Mistakes on a Budget?
To avoid common DIY mistakes on a budget, plan first, measure twice, and test small. Use upcycling ideas cautiously, follow safety precautions, and document steps so you don’t overlook details that cost you later.
Conclusion
You’re told to save a fortune, so you start with a paintbrush and a prayer. Irony loves your optimism—cheap doesn’t equal thin, or dull. You’ll swap clutter for curb appeal, learn to repurpose, and squeeze wow from tiny changes. Yes, you’ll DIY on a dime, and yes, you’ll prove impact beats expense every time. So go ahead: embrace the budget, fear the spill, and still glow with practical, unapologetic authority. Your wallet—and your home—will quietly thank you.