



Sustainable DIY practices for eco-friendly home renovations start with clear criteria: minimize environmental impact, maximize resource efficiency, and safeguard health and comfort. Set a green budget, prioritize local or reclaimed materials, and plan demolitions to divert waste. Choose low-toxicity, third-party certified finishes, install water-efficient fixtures, and pursue rainwater or greywater solutions. Phase projects to reuse materials, verify dimensions, and test fixtures before finalizing. Maintain routines and monitor outcomes to sustain gains—continue, and you’ll discover more practical steps.
Key Takeaways
- Prioritize salvaged or locally sourced materials to reduce embodied energy and support circularity.
- Use low-VOC, third-party certified finishes and formaldehyde-free plywood or MDF for healthier indoor air.
- Plan phased renovations, reuse materials, and test fixtures to minimize waste and emissions.
- Implement water-saving fixtures and consider rainwater harvesting or greywater systems where feasible.
- Maintain ongoing monitoring: track savings, document waste diversion, and schedule seasonal inspections to sustain efficiency.
Define Eco-Friendly Renovations: Criteria and Metrics

Eco-friendly renovations meet three core criteria: minimize environmental impact, maximize resource efficiency, and safeguard health and comfort. You define success by concrete metrics that translate theory into practice.
Start with embodied and operational impacts: embodied carbon per material, life-cycle assessments, and durability.
Operational performance hinges on indoor air quality and energy use, so specify targets for HVAC efficiency, filtration, and moisture control.
Measure resource efficiency through material reuse rates, recycled content, and waste diversion.
Rapids toward renewal demand: prioritize renewable energy integration, on-site generation, and compatible components.
Guarantee health benefits by selecting low-emission finishes, formaldehyde-free products, and non-toxic cleaners.
Finally, set verifiable benchmarks: third-party certifications, product labels, and post-renovation monitoring.
Your plan should be objective, repeatable, and adaptable to project scope, budget, and site constraints. Indoor air quality and renewable energy are central.
Set a Green Budget for Eco Renovations
A green budget is a practical tool that aligns renovation goals with financial reality, guiding choices that balance upfront costs, long-term savings, and environmental performance. You approach this with disciplined budget planning, outlining line items for materials, labor, permits, and deferred maintenance.
Begin by defining a cap and spread across phases to prevent scope creep. Compare costs using objective criteria: energy efficiency, durability, and maintenance impact. Seek transparent quotes, note contingencies, and build a reserve for unexpected improvements.
Track savings opportunities from efficiency upgrades and longer life cycles to justify higher initial investments. Use a formal cost comparison to evaluate alternatives side by side, not just upfront price.
Communicate progress regularly with stakeholders, updating forecasts as bids evolve and design decisions tighten the green performance envelope.
Source Local and Reclaimed Materials for Eco Style and Savings
Choosing local and reclaimed materials reduces embodied energy, supports the regional economy, and creates distinctive character. You optimize for eco style by prioritizing nearby sources and upholding responsible extraction.
Start with a materials plan that inventories what’s available locally, including reclaimed timber, brick, stone, and salvaged fixtures. Assess cultural significance to respect historic context and avoid wasteful replacements.
Verify durability and compatibility with your design goals, focusing on material durability and long service life. Confirm sourcing practices—whether salvaged items came from deconstruction rather than demolition—and document provenance.
Use standardized testing where feasible to compare performance. Finally, budget for processing and restoration, not just purchase, and integrate these materials with modern systems to maximize savings without compromising integrity.
Implement Energy-Saving Upgrades That Pay Off
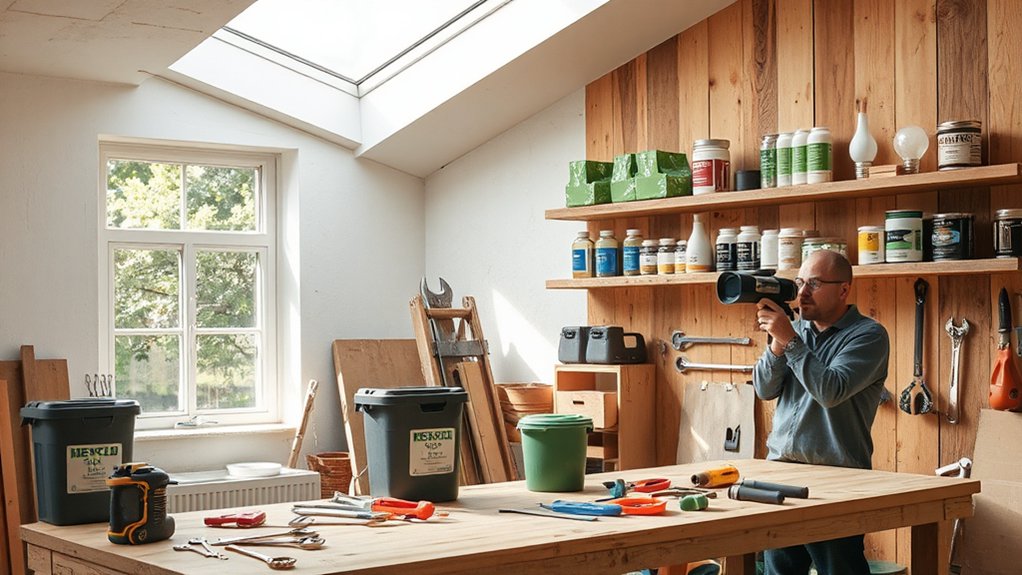
Upgrading your windows for better efficiency reduces drafts and spikes in heating costs, so start with high-performance models and proper sealing.
Improve insulation and air sealing to minimize heat loss and keep indoor temps steady with fewer HVAC cycles.
Prioritize a cohesive plan that combines window efficiency, insulation, and air sealing for the quickest, most reliable energy savings.
Upgrade Windows Efficiency
Upgrading window efficiency starts with identifying the biggest heat leaks in your home and choosing practical, cost-effective fixes. You’ll prioritize high-return options, like sealing gaps, upgrading to double-pane units, or applying low-emissivity coatings where appropriate.
Assess window orientation and shade, using efficient glazing to reduce glare without sacrificing light. Consider frame material performance, ensuring lows or comparable U-values meet your climate needs.
For window aesthetics, select profiles and finishes that blend with your home’s style while boosting airtightness. If you value historical preservation, opt for retrofit sash replacements or conservation-grade retrofits that maintain exterior lines and interior finishes.
Implement window films or adjustable shutters to manage seasonal heat gain. Track energy savings and adjust treatments to maintain comfort and efficiency over time.
Insulation And Air Sealing
For insulation efficiency, seal gaps first, then fill cavities to prevent convection loops that waste heat. Air sealing techniques focus on doors, windows, electrical penetrations, and rim joists, using weatherstripping, caulk, and spray foams where appropriate.
Install airtight barriers without compromising ventilation, balancing energy savings with indoor air quality. Conduct a blower-door test to quantify improvements and confirm that framing gaps are addressed.
Document materials, costs, and expected payback to guarantee measurable, repeatable results.
Install Water-Smart Fixes for a Leaner Water Footprint
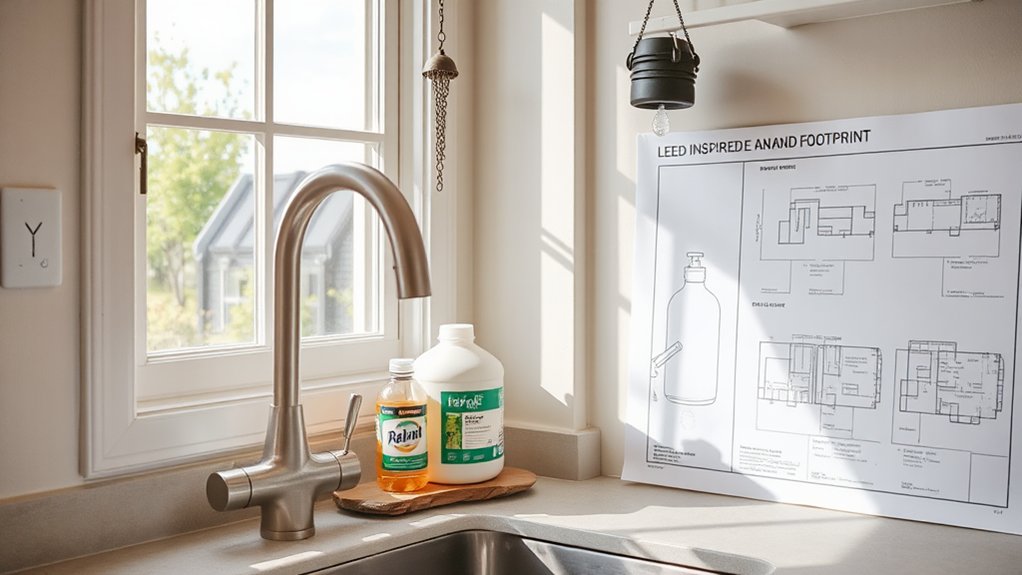
Installing water-smart fixes starts with a practical plan you can implement today. You’ll audit your home’s water use, identify high‑impact targets, and prioritize fixes that pay back quickly.
Start with efficient fixtures: low-flow toilets, taps, and showerheads reduce daily consumption without sacrificing comfort. Install aerators on faucets and fix leaks promptly to prevent wasted water.
Capture rainwater for non-potable tasks where permitted, and consider a simple greywater recycling setup for gardens or exterior cleaning, keeping local codes in mind.
Optimize irrigation with smart controllers and drip lines that apply water directly to roots.
Insulation and weatherization lessen outdoor evaporation around outdoor taps.
Finally, track water bills to verify savings and adjust strategies as needed for a leaner footprint.
Choose Low-Tox Finishes and Materials for a Healthy Home
Choosing low-tox finishes and materials sets the foundation for a healthier home. You’ll prioritize products with low volatile organic compounds, formaldehyde-free, and third-party certifications.
Then verify ingredients and emissions across the supply chain. Start by using the Low-Tox Finishes Guide and selecting materials that support indoor air quality and durability.
Low-Tox Finishes Guide
To create a healthy home, start by selecting low-tox finishes and materials that minimize off-gassing and indoor pollutants. You’ll prioritize products with low VOCs, simple solvent lists, and clear ingredient disclosures. Choose finishes labeled low-VOC or zero-VOC whenever possible, and favor water-based formulas over solvent-based options.
Look for formaldehyde-free, phthalate-free, and low- or no-ASE content to reduce indoor air contaminants. Verify certifications like Green Seal or GREENGUARD for performance and safety.
For color and texture, consider natural pigments to achieve durable moods without harsh additives. Plan finishes that cure fully before you occupy the space to limit lingering emissions.
Focus on VOC reduction while maintaining durability, washability, and ease of maintenance for long-term health benefits.
Materials For Healthy Homes
What matters most for a healthy home starts with materials you can trust: low-tox, low-emission options that perform as well as they look. When you select finishes and substrates, prioritize Indoor air quality and Material durability to minimize long-term exposure and maintenance.
You’ll get clearer air, less off-gassing, and reliable performance across rooms.
- Choose low-VOC paints, sealants, and adhesives with verified certifications to protect indoor air quality and reduce odors.
- Opt for durable, formaldehyde-free plywood, MDF, or solid wood; seal joints to extend life and maintain appearance.
- Install natural or recycled-content flooring with durable finishes, ensuring easy cleaning and low emissions over time.
These choices keep homes safer, easier to maintain, and true to eco-friendly renovation goals.
Reduce Waste With Smart Demolition and Responsible Disposal
Smart demolition minimizes waste by planning ahead and sorting materials on-site, so you can reuse, recycle, or responsibly dispose of debris. You’ll map what’s removable, set up designated containers, and train workers to separate concrete, wood, metal, and drywall.
Prioritize salvaged components for reuse to cut demand on virgin materials. When disposal is unavoidable, confirm local take-back programs and certified facilities to minimize environmental impact.
Throughout, practice recycling construction debris with clear labeling and timely transfers to recycling streams. Pair this with waste-reduction goals by choosing products with recycled-content or upcycled options.
Consider composting during renovation for organic waste like certain wood-off cuts or plant debris, where appropriate.
Maintain precise records, document diversion rates, and adjust procedures to keep projects aligned with eco-friendly targets.
Tackle Step-By-Step, Low-Carbon DIY Projects
Even when you’re new to DIY, you can tackle low-carbon projects step by step by planning, measuring, and prioritizing efficiency from the start. You’ll break tasks into clear stages, reuse materials, and minimize waste, keeping garden design and interior decor in mind.
Precision saves energy and money, so verify dimensions, select low-impact finishes, and test fixtures before committing. Focus on practical choices that reduce emissions without sacrificing result.
- Plan measurements and material flow to minimize trips and waste.
- Prioritize durable, low-impact options for both garden design and interior decor.
- Schedule phased work to maximize efficiency and reuse where possible.
Maintain Sustainability: Habits to Extend Your Renovation

To keep a renovation’s benefits lasting, build daily habits that minimize waste, conserve energy, and protect materials. You should page through your routine to prevent reversions: reuse containers, recycle packaging, and source durable finishes with extended lifespans.
Plan maintenance windows after project completion, calibrating tools to reduce wear and fuel. Practice mindful shopping; compare emissions, transport, and local availability before buying.
Gardening tips: cultivate plants that stabilize soil and reduce runoff near work zones, lowering erosion and noise.
Eco friendly cleaning: choose non-toxic cleaners, dilute concentrates, and wipe surfaces with microfiber cloths to lower chemical exposure and waste.
Schedule seasonal inspections for seals, drains, and insulation, tightening gaps promptly. Document savings, then adjust habits to sustain efficiency and materials long-term.
Frequently Asked Questions
How Can I Assess a Project’s Overall Carbon Footprint?
You can assess a project’s carbon footprint by cataloging materials, energy use, and transport, then quantifying emissions with recognized standards. Track eco impact across design, construction, and end-of-life phases, compare options, and reduce hotspots through substitutions and optimization.
What Are Practical Ways to Track Recycling During Demo?
Place labeled recycling bins onsite and enforce waste sorting from day one; track by weighing each bin or using a simple tally sheet, review weekly, and adjust crew practices to maximize recycling rates and minimize contamination.
Which DIY Tasks Are Truly Low-To-No-Voc Safe?
Choose low-to-no-VOC options, choose low-VOC paints, choose non-toxic adhesives. You’ll minimize emissions, maximize safety, minimize odors, maximize application ease, maximize durability, maximize cleanup simplicity. You: select low-VOC paints and non-toxic adhesives for DIY tasks.
How Do I Stage Renovations to Minimize Energy Waste?
You stage renovations by auditing energy waste, prioritizing energy efficient lighting and Water saving fixtures, then schedule tasks to minimize heat loss, batch installs, and reuse materials. You monitor progress, adjust loads, and document savings for ongoing efficiency.
What Affordable Certifications or Labels Matter for Eco-Renovations?
You should pursue affordable labels like LEED, ENERGY STAR, and FSC. They validate efficiency and sustainable choices; seek programs recognizing renewable energy and sustainable materials, ensuring builders meet standards, reduce waste, and maximize long-term cost savings.
Conclusion
You can trust that small, deliberate choices compound into meaningful impact. When you test a theory—that sustainable DIY saves money and mood—you’ll find the math often stacks in your favor: materials last longer, energy bills drop, and comfort rises. Stay precise: measure, compare, adjust. Use local or reclaimed resources, verify low-tox content, and plan waste streams. If you resist impulse buys, your eco-renovation becomes a repeatable habit, not a one-off project. Practical progress beats grand claims.



